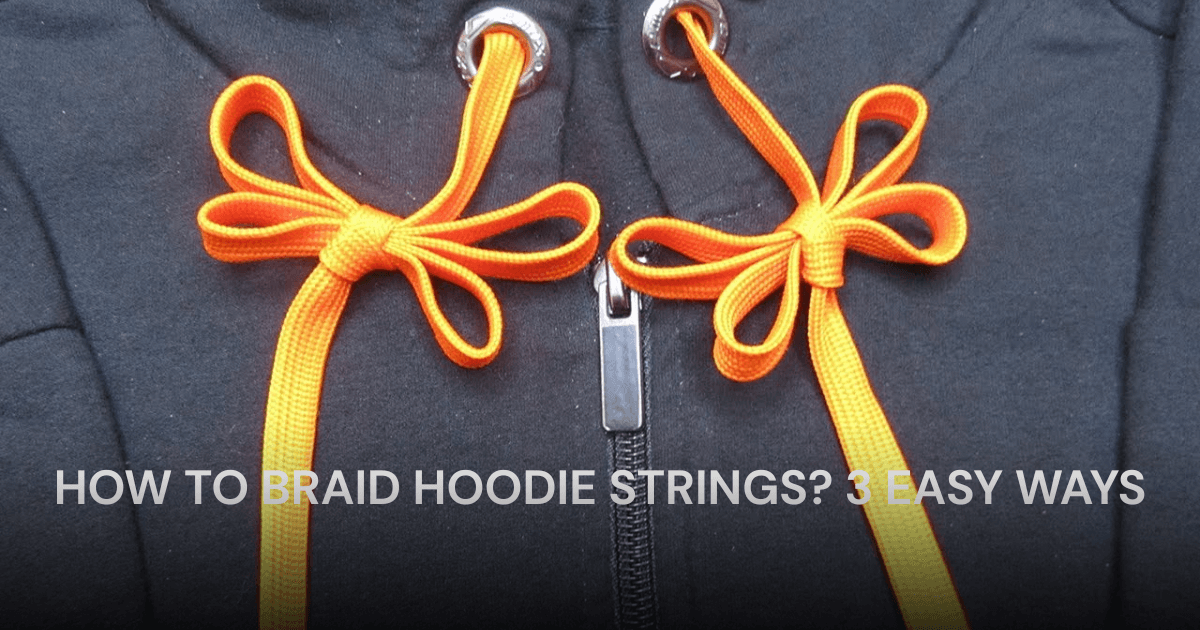
Want to give your hoodie a stylish upgrade while keeping the strings from slipping back into the hood? Knowing how to braid hoodie strings is a fun and creative way to add a unique touch to your outfit. From simple knots to intricate macramé-style braids, there are plenty of techniques to explore. In this guide, you’ll learn step by step how to turn your hoodie strings into eye-catching designs that are both practical and decorative!
Key Things To Consider Before Braiding Hoodie Strings
Before diving into braiding your hoodie strings, let’s check out some things to consider below:
1. Choose Strings with Enough Length for Braiding
Before you start braiding, make sure your hoodie strings are long enough to work with. Braiding naturally shortens the overall length, so if the strings are too short, the final design might end up too tight or unusable.
2. Work on a Flat Surface for Stability
The ideal surface for cleanly braiding your string is flat and stable. A flat table or desk serves as support that stops the strings from moving or twisting while creating braids. You can achieve stability during weaving by attaching the strings to one end using a small clip or piece of tape.
The stability of your pattern during braiding can be improved when you work on a flat surface, which helps the process become simpler.
3. Ensure a Uniform Braid
When braiding hoodie strings, they should look balanced in appearance. To get an even braid, you must maintain equal tension across all the strands throughout the braiding process.
You see, uneven tension between braided sections will cause the hoodie strings to look warped and create unnatural twists. Adjust the braiding process slowly to keep the pattern clean and even. Of course, for best results, you should re-braid any tangles before continuing with the braiding process.
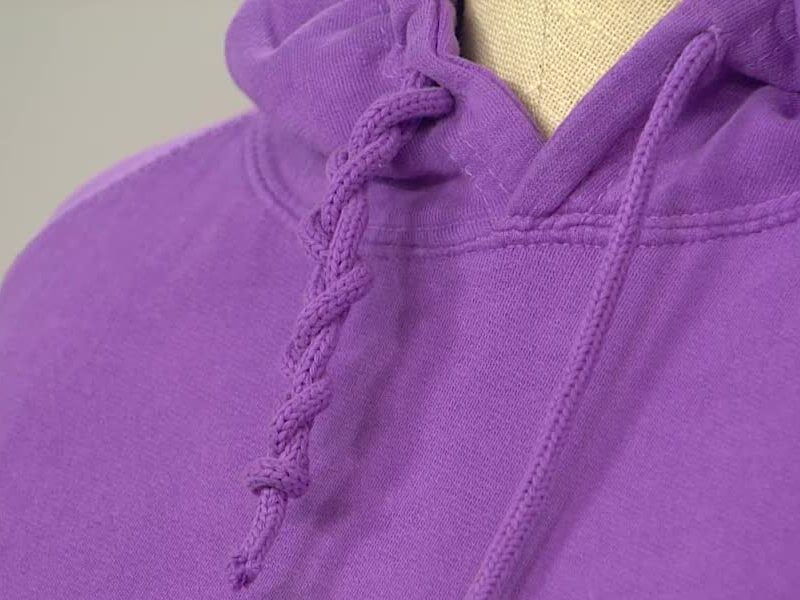
Some things to check out before braiding hoodie strings – Source: Studio5.com
How To Braid Hoodie Strings? Top 3 Methods You Can Try at Home
If you want to add a stylish and sturdy finish to your hoodie strings, then tying a barrel knot is a great option. There are many different ways to do it, and here are the top 3 easiest and most effective ways to try.
Method 1: Simple Three-Strand Braid
Step 1
The first step requires you to hold one of the hoodie straps in your hand with just your fingers. Use two fingers to place them on top of the strap. After securing the first strap under your fingers, you should use your other hand to wrap the remaining strap upwards to the right.
Step 2
Next, you start to cross the strap to form an X shape on the left side. To tie the knot, you need to position the X three-quarters of the way from the strap base while still keeping enough length of the strap left to tie. Then, adjust the strap tightness by pulling until you create enough slack if needed.
Step 3
After forming the X, you should start positioning the end of the strap between your fingers to create downward loops. Do this two or three times while making sure your loops remain straight along the left edge of the X structure.
All of the hoodie’s strap loops need to be on the right side of the top section. Moving to the left side will change the structure of the barrel knot.
Step 4
Finally, position the end of the string through the gap between the X and the loops using a careful motion. Thread the string through the gap between your two fingers to complete the operation. Last but not least, don’t forget to grab the opposite end of the string before slowly pulling it through.
When the gap between your two fingers feels tight, you should spread them apart a little to simplify the threading process.
If you prefer a more customized hoodie look, you might want to learn how to cut a hoodie into a crew neck for a unique style before braiding its strings.
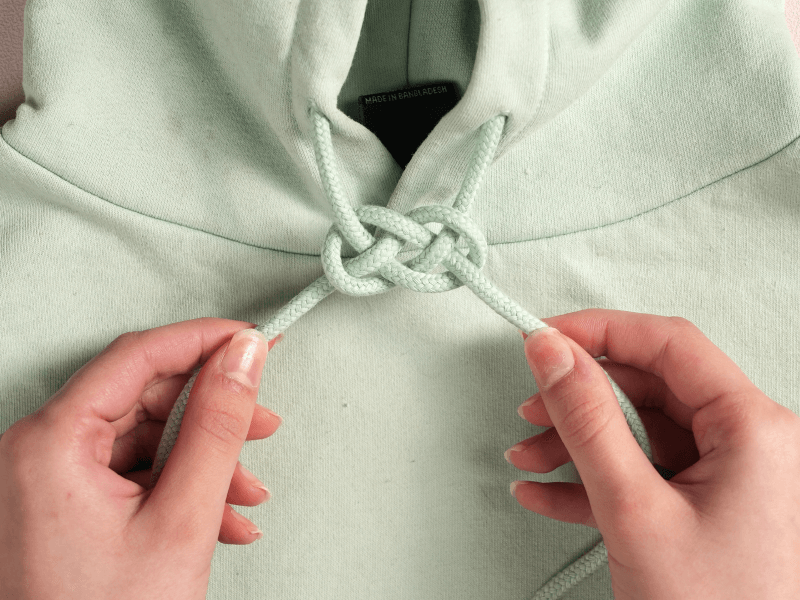
You can try to make a simple and easy three-stand braid Source: Wikipedia
Method 2: Four-Strand Round Braid
Step 1
Start by folding the hoodie cord into a loop at the end before placing the remaining cord on top facing left. Continue doing this over and over, creating a loop with a base for the braid structure.
Step 2
Next, arrange the cord by wrapping it around the top of the loop but keep it loose for flexibility. At this point, you should be working from left to right and from front to back.
Step 3
Turn the large loop to the left before threading the end of the cord through the back. While threading the cord, be prepared to tie a tight enough knot to secure it. You will need to repeat this until the first part of the braid is formed.
Step 4
The next step involves twisting the loop to the right and then the end of the cord through the back. Each new twist and thread will help your braid start to take shape. And accordingly, the final braid should have even tension to create a neat look as it moves forward.
Step 5
Use the previous twisting and threading process to create a shrinking loop until the loop is completely gone. Your work towards the end of the pattern will create more defined braids as the wire gets shorter.
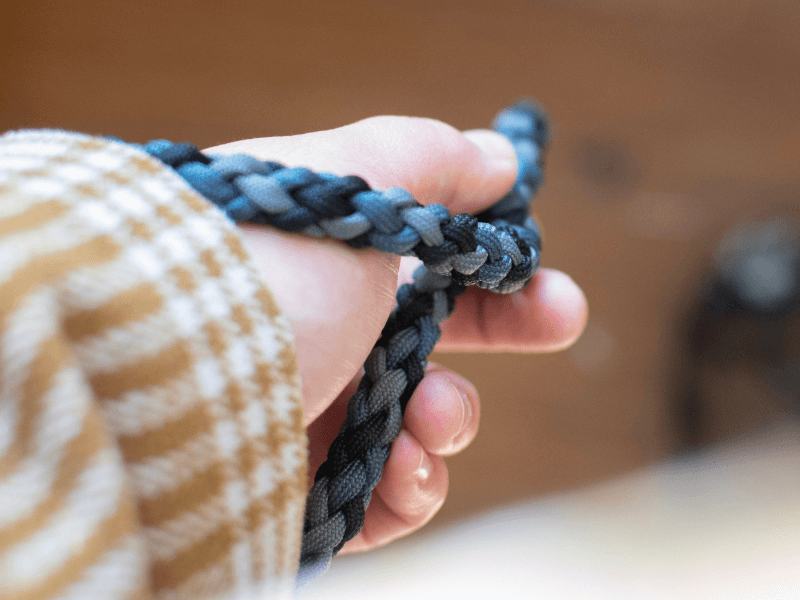
A four-stand braid might be more complex method Source: GQ.com
Method 3: Fishtail Braid
This technique follows a structured looping process to achieve a neat and decorative finish. Follow these steps carefully to ensure a perfect braid.
Step 1
To begin, take the end of your hoodie string and form a small loop by folding it over and to the left. Make sure to position this loop near the top of the string, leaving enough slack to work with. This initial loop will determine the overall size of your finished braid.
Step 2
Next, take the loose end of the string and wrap it around the back of the main hoodie string. As you do this, ensure that the wrap stays tight and secure at the top of the loop you just created. Hold the loop steady with your fingers to keep its shape intact.
Step 3
Now, bring the end of the string down in front of the loop you just made. Starting from the left side, create another loop that fits neatly inside the first loop. This smaller loop will begin to form the braided structure of your knot.
Step 4
After that, continue by guiding the end of the string behind the main hoodie string once more. This motion should mirror what you did in Step 2, but now you’ll be tucking this new wrap beneath the previous one. Cross the end over to the left again to keep the structure consistent.
Step 5
Finally, take the tail end of the string and thread it through the center of the last loop. Gently pull it through while making sure it sits snugly against the rest of the knot. To tighten, carefully tug on the loose end while flattening the loops to keep them even.
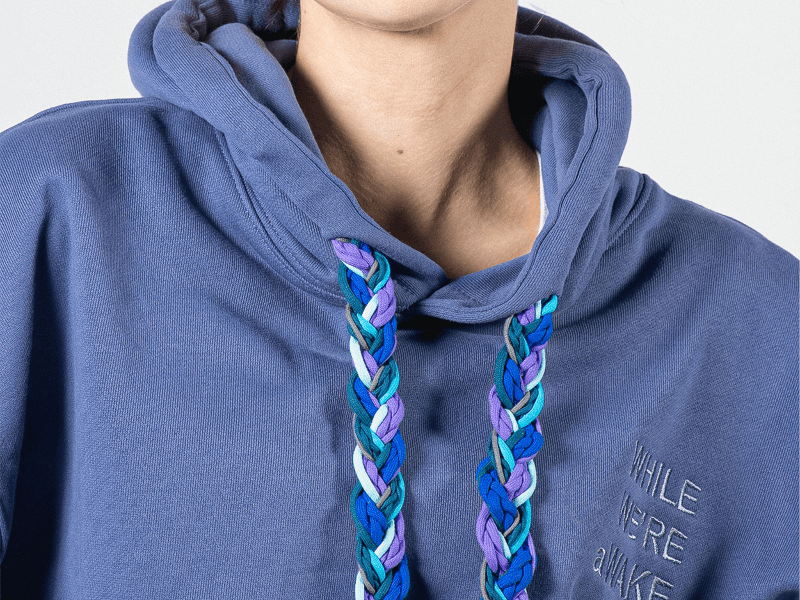
Fishtail is the most difficult and vintage style Source: Whilewerewake.com
FAQs
What Is the Point of Drawstrings On Hoodies?
The hoodie’s drawstring design allows the user to adjust the size of the hood. This creates a snug fit for their head to protect them from harsh weather conditions while allowing them to decide how much hood they want.
How Do You Protect Hoodie Strings In the Wash?
Tie the hoodie’s drawstrings together in a loose knot before machine washing to avoid damage to the cords due to the motion of the wash cycle.
How Do You Keep Hoodie Strings From Coming Out?
There are two ways to prevent hoodie cords from coming loose in the washing machine: knot the ends before washing or secure the cords to the hoodie with safety pins; for persistent problems, consider using a straw to guide the cords during the re-threading process.
Conclusion
In short, learning how to braid hoodie strings is a simple yet creative way to personalize your look while keeping the drawstrings secure. Plus, a well-braided string prevents annoying slipping and makes your hoodie stand out effortlessly.
Besides, learning other hoodie hacks, like how to fix a zipper on a hoodie or how to cut the sleeves off a hoodie, can help you maintain and personalize your favorite pieces even further.
Now, ready to upgrade your hoodie game? Explore stylish sports hoodies in various colors and designs at yesthathoodie.com to find the perfect match for your new braided look!

