Hoodies are a great go-to for any wardrobe, but sometimes they feel plain. If you’re looking to give yours a fresh twist, why not check out how to cut the sleeves off a hoodie? Whether you turn it into a vest or opt for a short-sleeve version, these 2 simple methods can make your hoodie look stylish and unique again.
Choosing the Right Hoodie for Sleeveless Customization
There are many key things to consider to pick the suitable hoodie for sleeveless custom. Let’s check it out right now!
1. Material Considerations
Fabric selection for making sleeveless hoodies directly influences both appearance and durability. The large audience chooses cotton hoodies because the material offers breathability and softness with flexible care needs.
2. Size and Fit
Your hoodie shape when you start matters equally to the fabric material you select for modification. Your need for sleeve exposure can be hindered by tight-fitting hoodies, as cropped sleeves would become small or restricted due to tight armholes.
3. Condition of the Hoodie
The condition of the hoodie requires thorough examination before any cuts are made. So, using a fresh hoodie works best since it still maintains a strong structure with undamaged seams that leads to neat and polished finishing results.

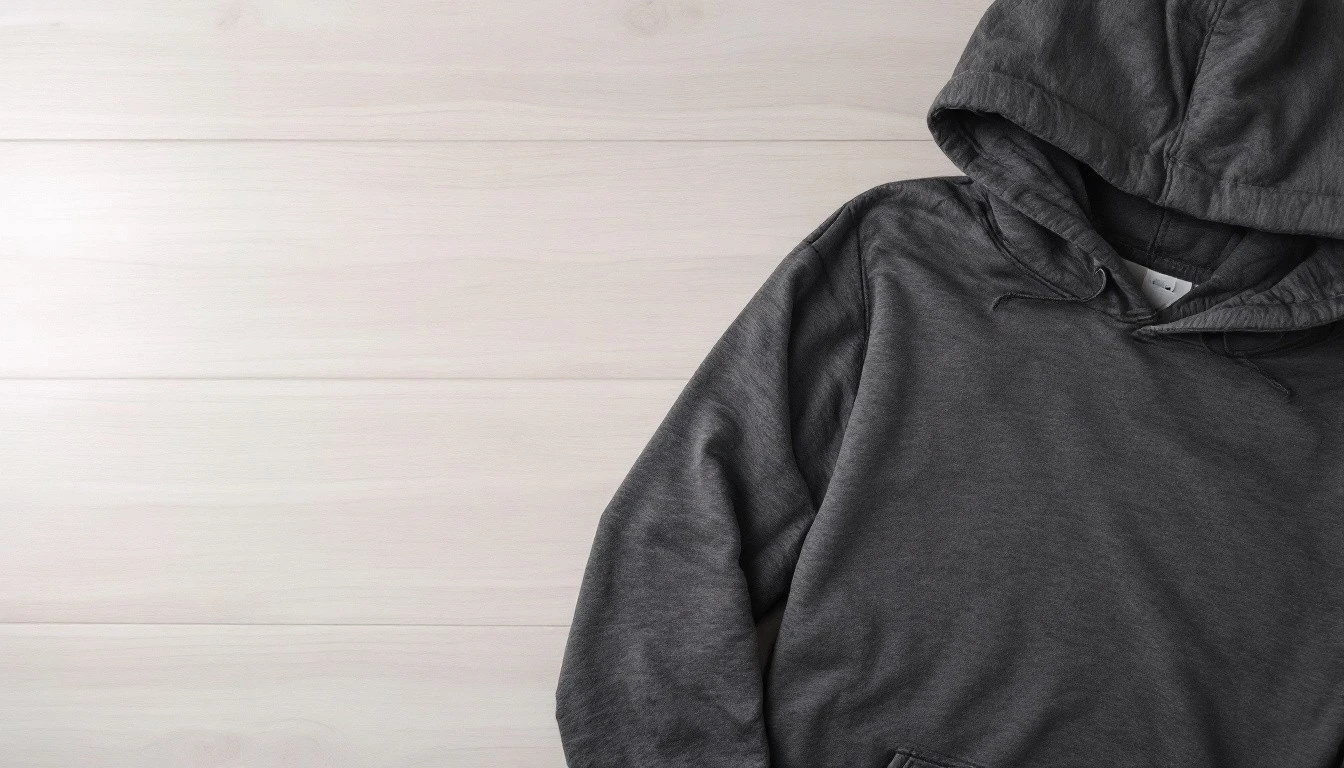
You should pick the suitable hoodie to cut – Source: Globalfashion.com
Essential Tools and Preparation For Cutting The Sleeves Off A Hoodie!
You will need:
- Sharp fabric scissors for clean cuts.
- Chalk or fabric markers for precise marking.
- Measuring tape or ruler for accuracy.
- Seam ripper for removing stitches if necessary.
How to Cut Sleeves Off a Hoodie: 2 Easy Methods You Can Follow At Home
Hoodies are a staple, but sometimes, you want to switch things up. If done carelessly, you might end up with uneven cuts or frayed edges that make your hoodie look messy. This guide will help you learn how to cut the sleeves off a hoodie with 2 simple methods below:
Method 1: Make A Vest
Step 1: Lay the hoodie flat
Place your hoodie on a flat surface with the front side facing up. You can use a table, countertop, or even the floor. There’s no need to iron the hoodie, but try to smooth it out as much as possible with your hands.
Pro Tip: Try aligning the side seams to ensure the hoodie is lying evenly.

Consider your sleeve cut style – Source: Lezou garment
Step 2: Cut about 2.5 cm (1 inch) away from the shoulder seam
Start by cutting about 2.5 cm (1 inch) away from the shoulder seam. You don’t need to be extremely precise with your measurements, but try to cut around 2.5 cm from the shoulder seam and start at the armpit area.
Pro Tip: It’s better to cut a little less than too much, as you can’t add back what you’ve cut off.
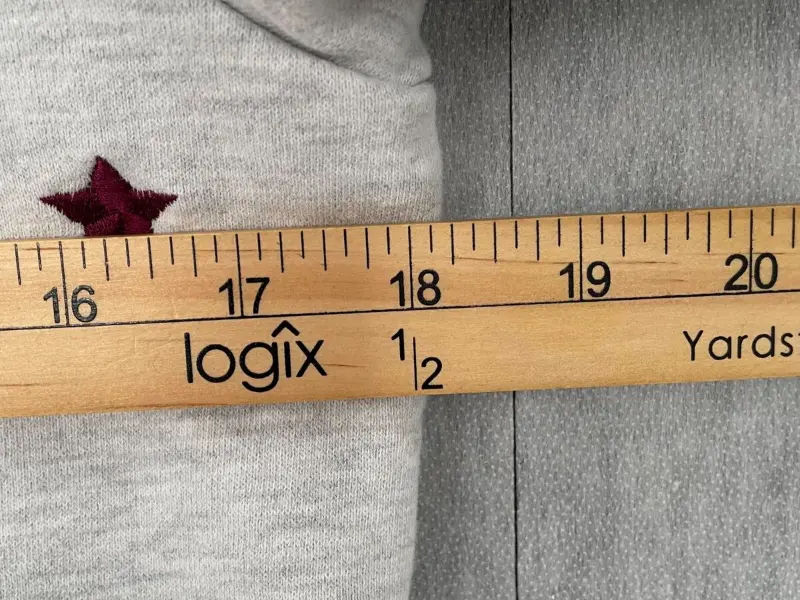
Start to handle with new cutting line – Source: ebay.com
Step 3: Follow the shoulder seam as you cut the sleeve off
Use the shoulder seam as a guide and continue cutting the sleeve in a slight curve upward. Your cuts don’t have to be perfect, but try to make them as smooth as possible.

Step 4: Place the cut sleeve on top of the other sleeve
Take the sleeve you just cut off and place it on top of the second sleeve. Line up the shoulder seams so that both sleeves are aligned directly on top of each other. This will help ensure that both sleeves are cut evenly.
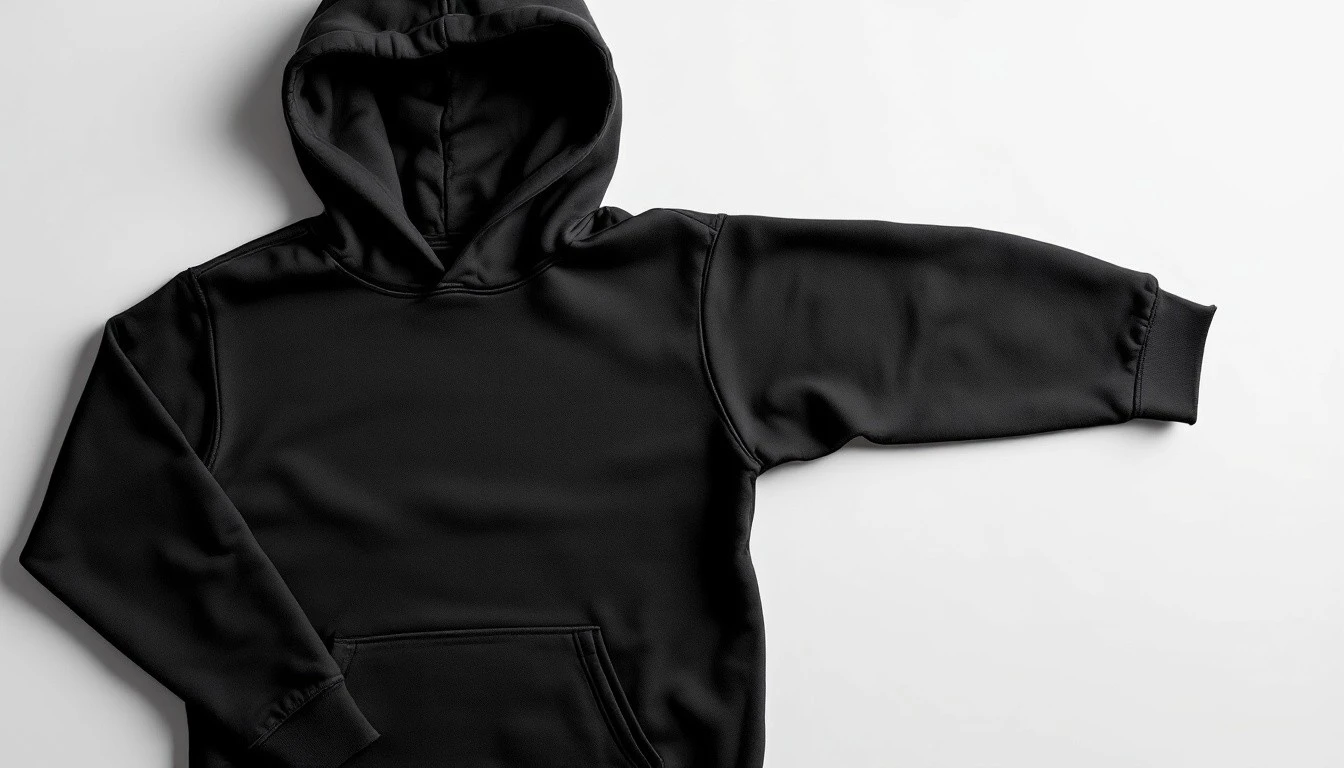
Step 5: Use the cut sleeve as a guide to cut the other sleeve
Use the sleeve you’ve already cut as a guide to cut the second sleeve. Cut along the curve of the first sleeve to ensure that both sleeves are symmetrical.
Pro Tip: The edges of your hoodie won’t be hemmed, so they may fray a little. Cut off any loose threads to prevent unraveling.
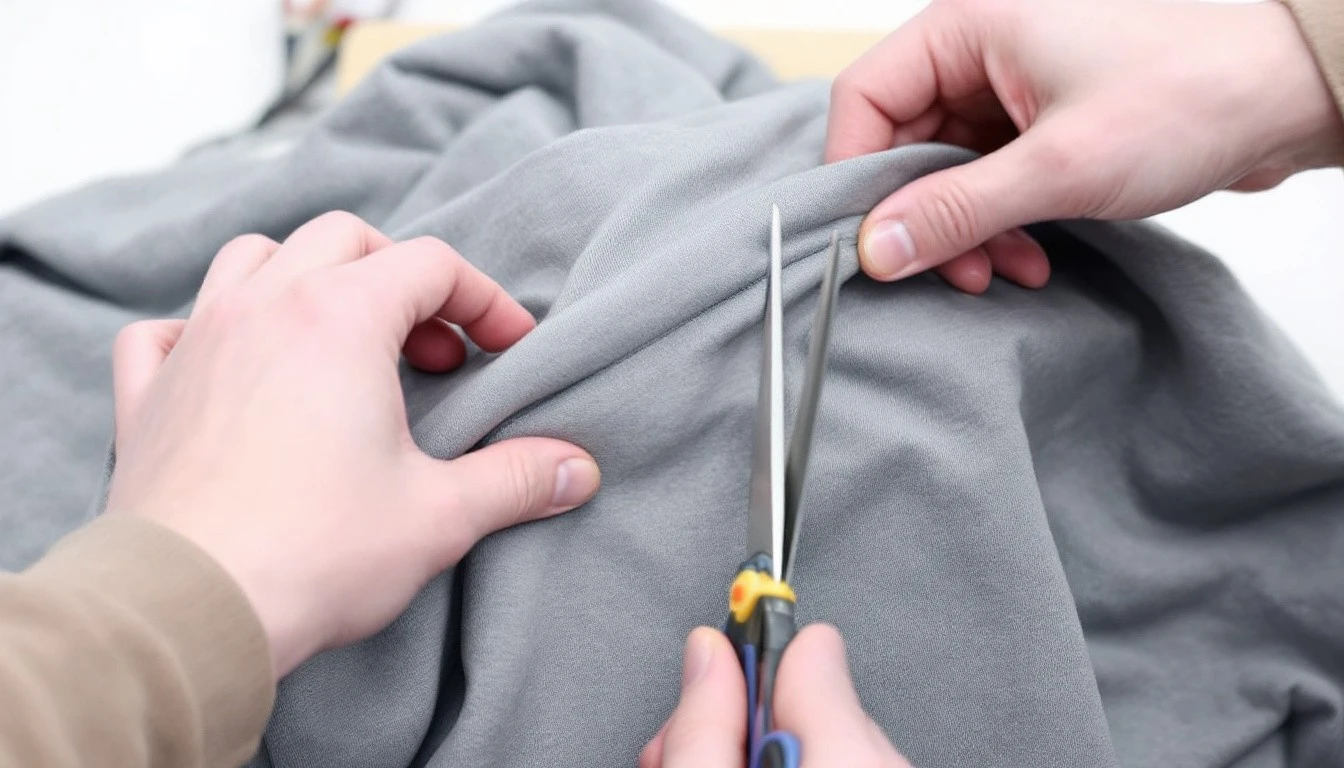
Method 2: Create a Short Sleeve Hoodie
Step 1: Lay the Hoodie Flat
Start by laying your hoodie flat on a smooth, even surface like a table, countertop, or floor. Make sure the fabric is wrinkle-free, as this will make your cuts cleaner and more precise.
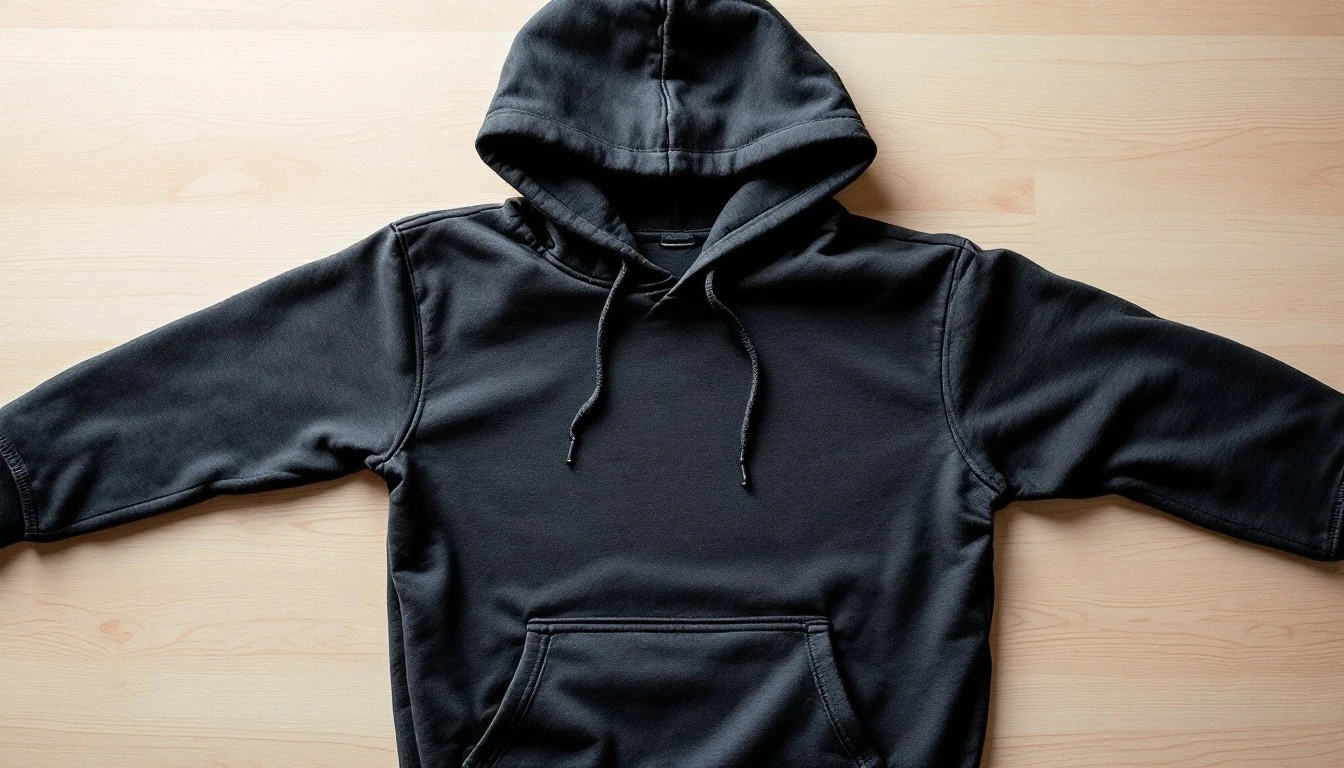
Step 2: Mark the Sleeve Length
Decide how short you want your sleeves to be. A good rule of thumb is to keep the sleeves around halfway between your shoulder and elbow for that classic short-sleeve hoodie look. Use a fabric marker or chalk to lightly mark where you plan to cut. For extra accuracy, you can use a ruler or measuring tape to ensure both sleeves are even.
Step 3: Cut the Sleeves
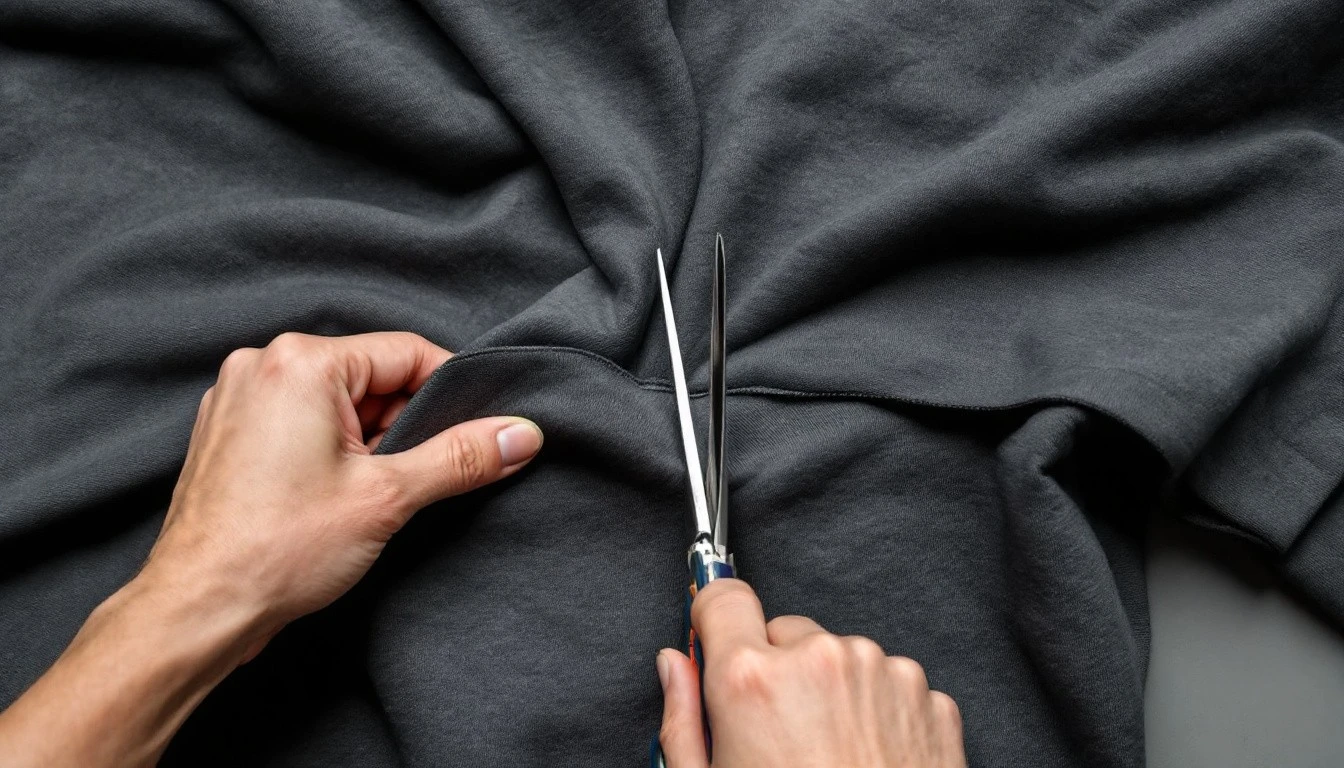
Using your scissors, carefully cut along the marks you made on each sleeve. Try to keep your cuts smooth and even to achieve a professional finish. If you’re unsure, start by cutting a little at a time and adjust until you’re happy with the length.
Step 4: Create a Clean Edge
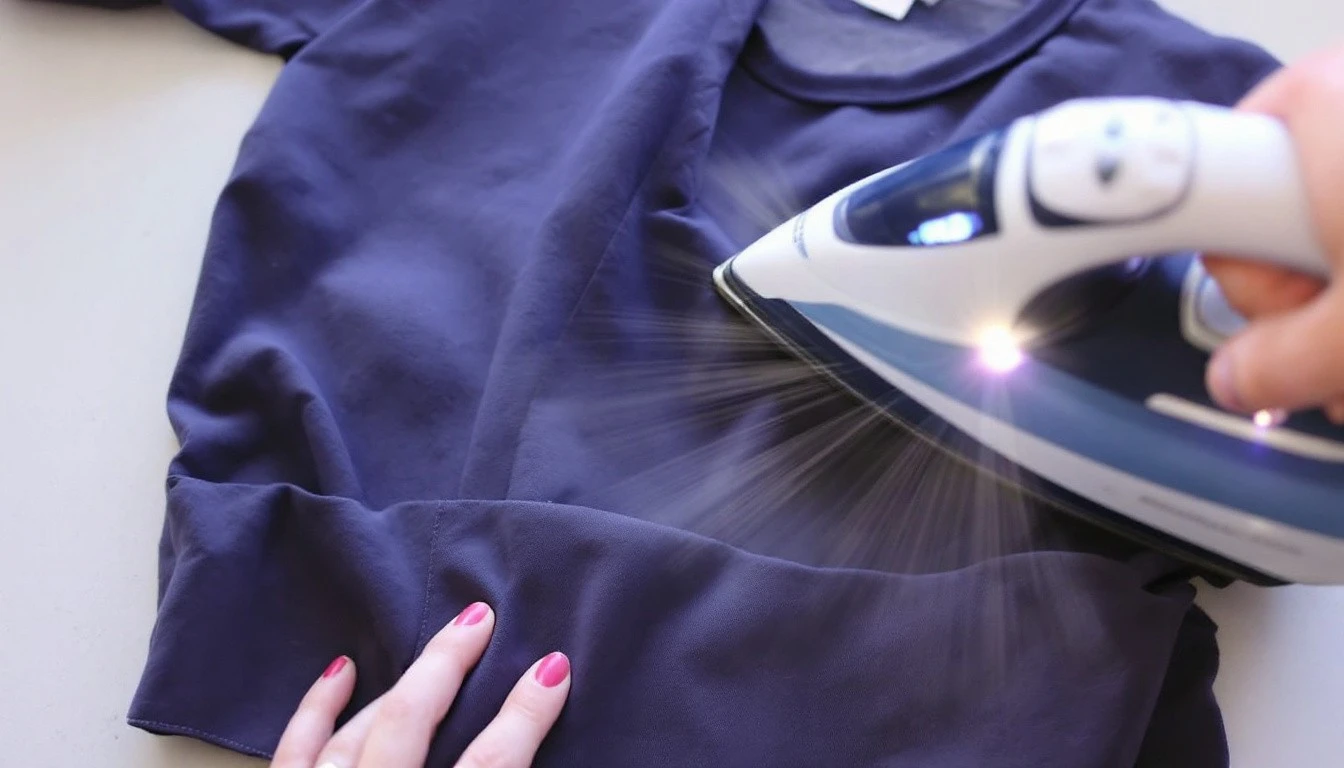
After cutting the sleeves, you may notice the fabric’s edges are a bit raw. To give it a cleaner, more finished look, fold the cut edges about 1/2 inch (1.3 cm) inward and iron them flat. This will create a subtle hem. If you want to add a bit of a distressed or lived-in vibe, you can leave the edges raw or slightly frayed for a more casual, streetwear-inspired appearance.
Step 5: Add a Personal Touch
Now comes the fun part: personalization! If you want to make your hoodie stand out, consider adding some creative touches like distressing the fabric, adding patches, or even experimenting with bleach or fabric paint for unique designs. This step is all about expressing your personal style, so get creative!
Step 6: Final Touches
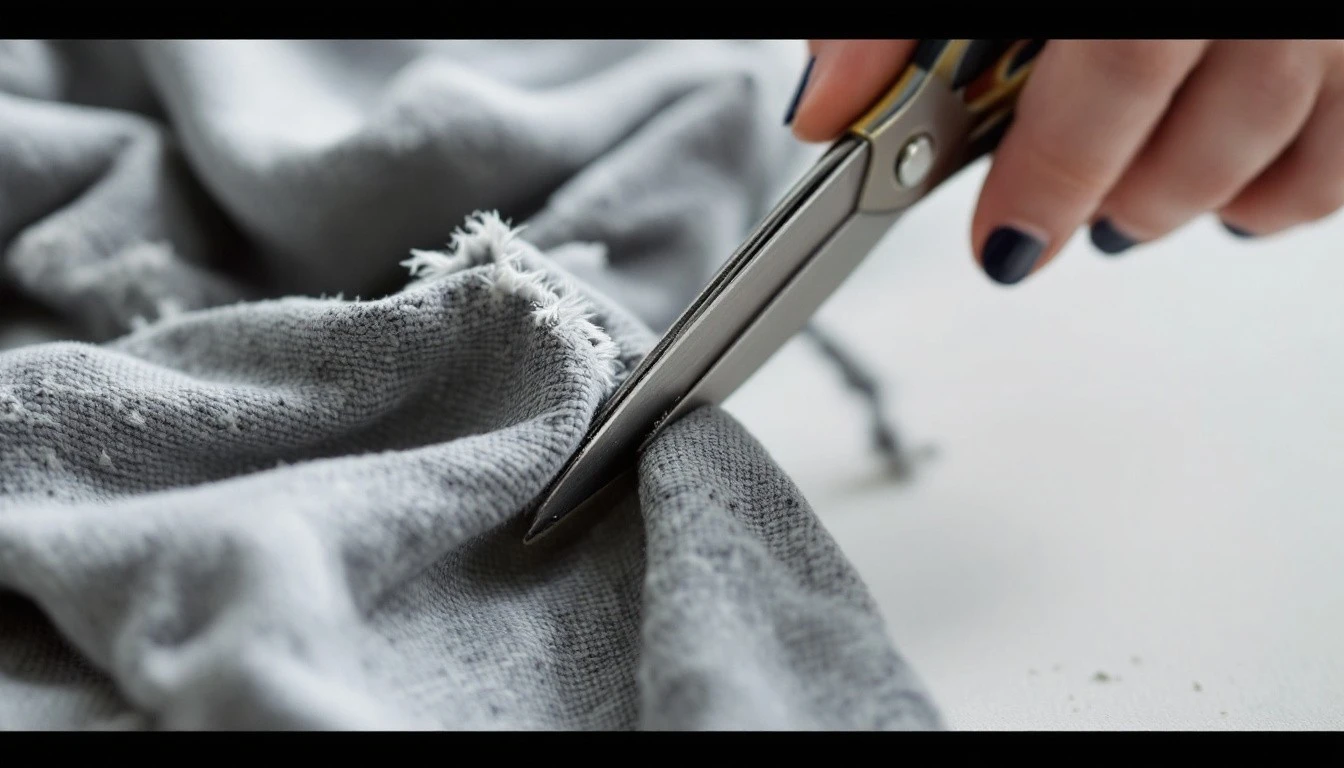
After making your adjustments, check the overall look of your new short-sleeve hoodie. Iron out any wrinkles, and if you added any embellishments, make sure they’re securely in place. If you want to make sure the sleeves hold their shape, you can stitch them with a simple running stitch or use fabric glue.
3 Common Mistakes to Avoid When Cutting Your Hoodie
Cutting the sleeves off a hoodie might seem like a simple DIY project, but a few small mistakes can ruin the final look. To help you get it right, here are top 3 common mistakes to avoid and how to ensure a clean, stylish hoodie cut.
1. Unequal Cuts
No wonder the armholes are the most difficult cuts to get correct—they are always out of order. Sometimes, one side is cut out too high or too wide, which makes the entire hoodie look lopsided.
How to avoid it:
To correct this, we recommend that you start marking your cutting lines with chalk or fabric pens. Lay your hoodie on a flat, solid surface and make use of a ruler to ensure symmetry. Instead of cutting both sides separately, fold the hoodie in half and cut through both sleeves in one go.
2. Using an Incorrect Hoodie
It is very easy to bother a sleeveless transformation with a ranged hoodie, but all hoodies are not bowled. Some fabrics tend to unravel, while others may simply lose their shape without the supporting esses.
How to avoid it:
These hoodies are ideal for the project: cotton-blend or fleece medium-to-thick hoodies that maintain their shape. Stay away from thin, stretchy, or knit materials, as they tend to curl or sag. Are you interested in hoodie crafts? Check out how to crochet a hoodie for a completely new DIY look!
3. Neglecting to Plan
Cutting without a plan is guaranteed to make you regret your new hoodie. Lots of people get a pair of scissors and start cutting without giving any mind to the final silhouette, and the consequences can be permanent.
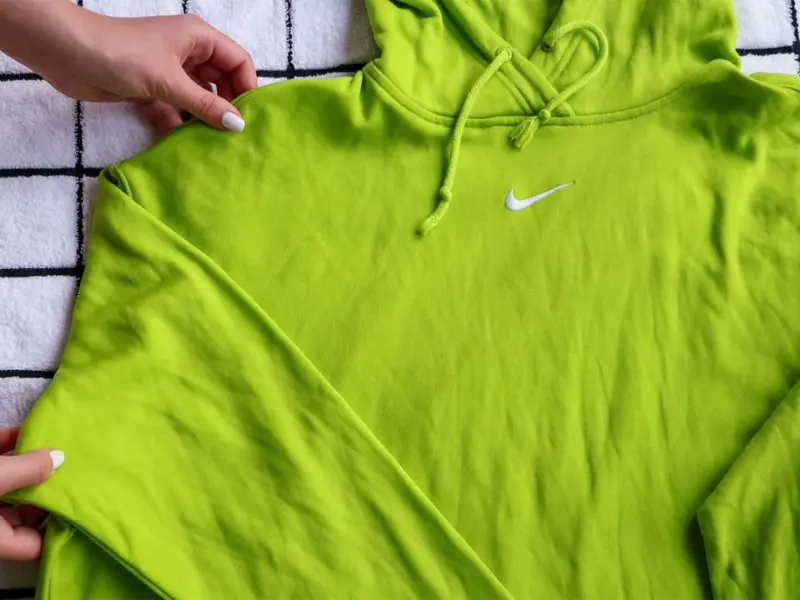
We have to care some common mistakes to handle your task – Source: Nike.com
How to avoid this:
Before lifting the scissors, ask yourself what you want your hoodie to look like. Though you might wish to have an unfinished hem, you may want to smooth or hem the cut. So, just do it on the garment and not on the sewing machine by putting the garment on and pinning the sleeves and the armholes in place.
Final Words
To sum up, the instructions covered how to cut the sleeves off a hoodie. Cutting the edges off of your hooded sweatshirt is a great way to style it up. This could be achieved through the steps provided, choosing the proper hoodie, and avoiding common blunders. Do you want to try on a stylish hoodie but don’t want to deal with the do-it-yourself stuff? Head to Yes That Hoodie for different, unique, and affordable custom hoodies!


